14 Micro-Cut Transitions That Keep Completion Rates Above 60 Percent
Master the exact timeline editing techniques and micro-cut transitions that prevent viewers from swiping away during your short-form videos.
Hitting a 60 percent completion rate on a 30-second video is difficult. Viewers have a highly developed reflex to swipe away the moment a video loses momentum. If you want to hold their attention, you need to master micro-cut transitions.
A micro-cut transition is a nearly imperceptible edit that removes dead space, resets the viewer's visual focus, or bridges two clips without breaking the flow of information. They happen in fractions of a second. When executed well, the viewer doesn't register that an edit occurred. They just know they can't look away.
Standard jump cuts give viewers a split second to disengage. Micro-cuts remove that exit window entirely. Combined with scripting for retentive attention using the narrative open loop strategy, these editing techniques form the mechanical foundation of high-retention content.
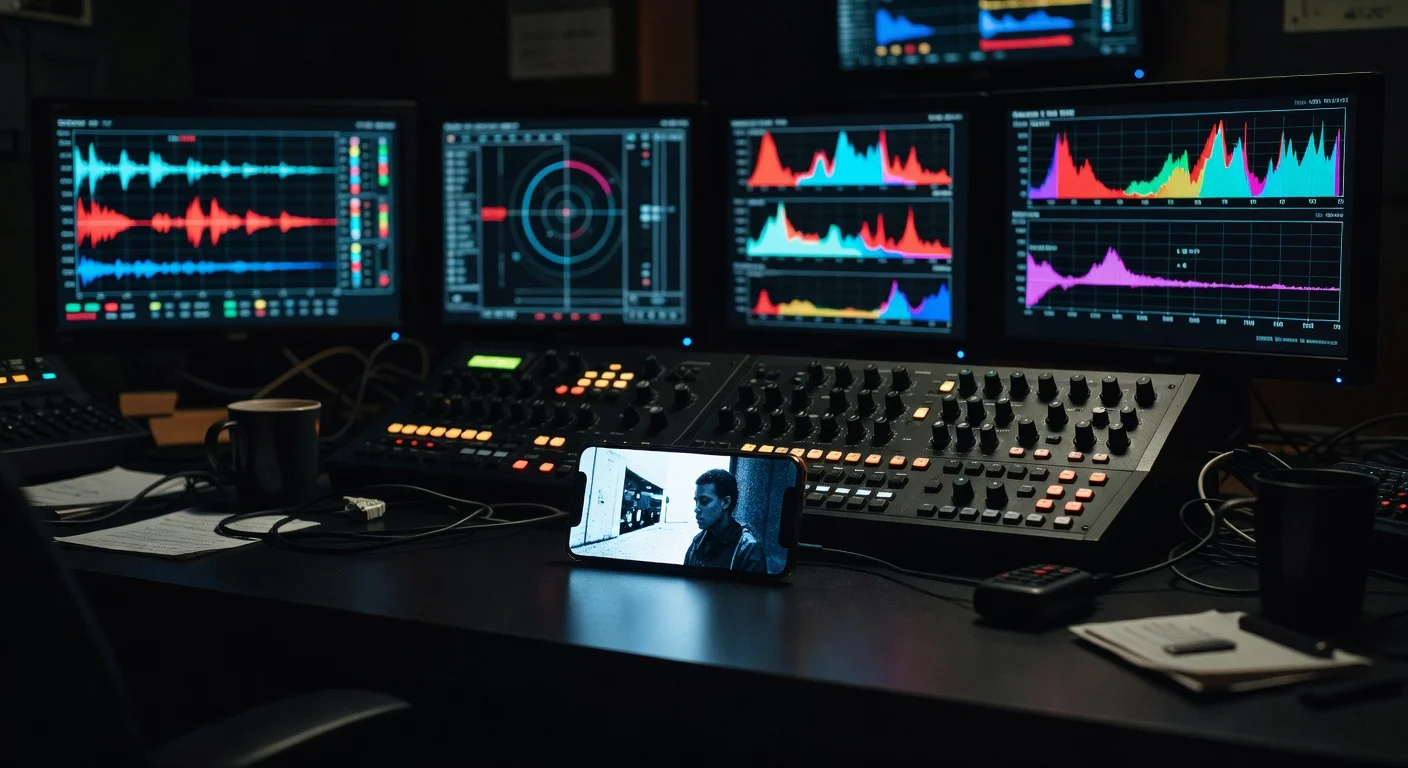
Here are 14 specific micro-cut transitions you can apply in Premiere, CapCut, or DaVinci Resolve to keep your audience watching until the loop.
Audio-Driven Micro-Cuts
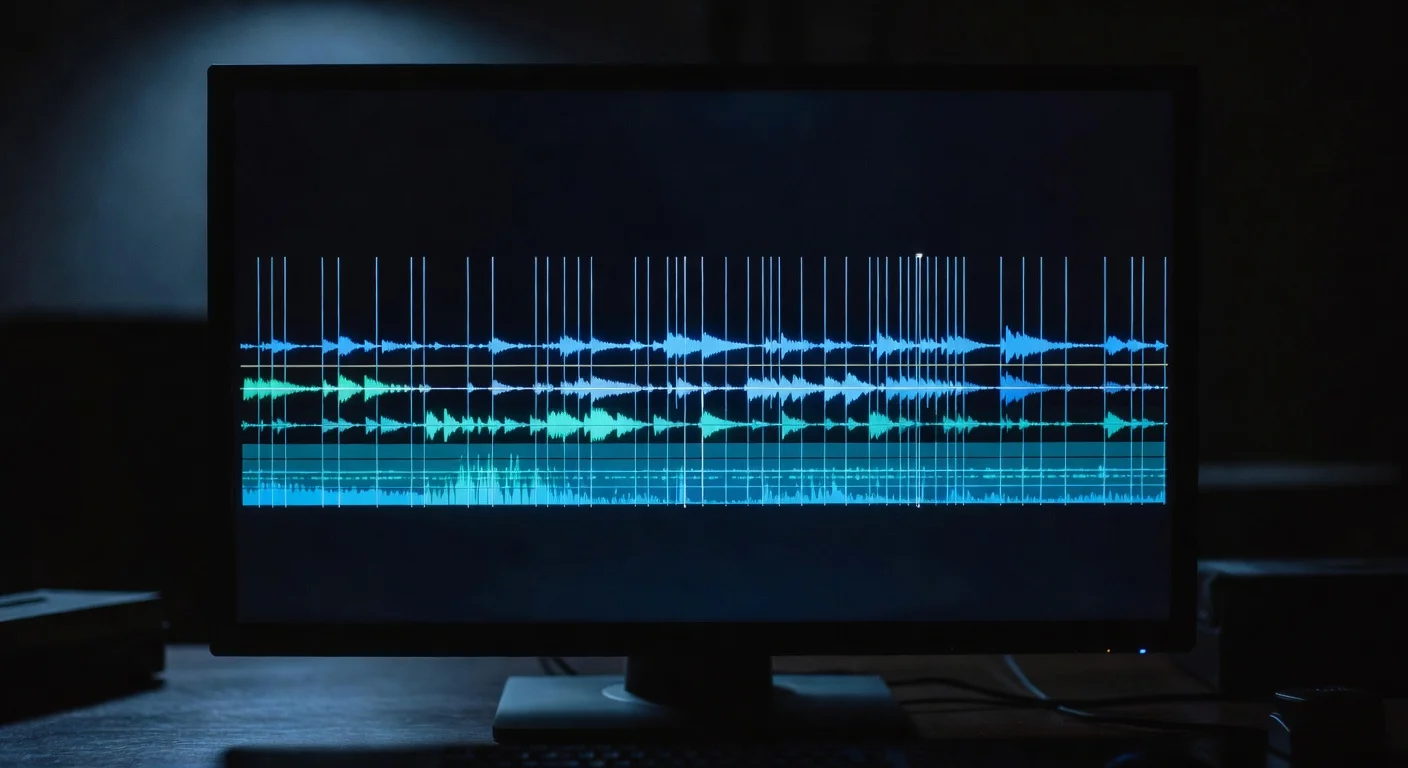
Video editors often make the mistake of cutting based on the visual action. If you want seamless transitions, you need to cut on the audio waveform. The ear is more forgiving of visual jumps if the audio sounds natural.
1. The Breath-Snip
Nobody wants to listen to you inhale for a full second between sentences, but completely removing breaths sounds robotic and unnatural. The breath-snip solves this.
Instead of deleting the entire breath before your next sentence, cut the audio waveform exactly in the middle of the inhale. Leave one or two frames of the breath sound right before the first hard consonant of your next word. The viewer's brain registers the natural human cadence of breathing without actually waiting for you to finish the inhale.
2. The Consonant Snap
This transition links two different takes by matching the mouth shapes of hard consonants. Words starting with P, B, T, K, or hard C require your mouth to close or your tongue to strike the roof of your mouth.
If your first clip ends with a word like "stop" and your second clip begins with "because," you can edit the timeline so the 'P' sound of "stop" overlaps by one single frame with the 'B' sound of "because." The audio blends into a single percussive beat. It forces the current sentence into the next one, dragging the viewer along.
3. The L-Cut Quick-Hit
An L-cut is a traditional filmmaking technique where the audio of the next clip plays before the video changes. For short-form content, we compress this into a micro-cut.
Bring the audio of your next point in roughly three to five frames before the visual cuts over. You hear the start of the next sentence while still looking at the previous shot. The brain hears new information and naturally waits for the visual to match it. By the time the visual catches up, the viewer is already invested in the new sentence.
| Cut Type | Audio Overlap | Visual Change | Best Used For |
|---|---|---|---|
| Breath-Snip | None | Simultaneous | Long talking-head segments |
| Consonant Snap | 1-2 frames | Simultaneous | Connecting two energetic takes |
| L-Cut Quick-Hit | 3-5 frames | Delayed | Transitioning to b-roll or a new scene |
Spatial and Movement Cuts
Viewers get bored looking at the exact same framing for more than four seconds. Spatial micro-cuts force the eye to track a new focal point.
4. The Axis Shift
When you splice two clips of yourself talking to the camera, a standard jump cut leaves your eyes in the exact same spot on the screen. The background shifts slightly, creating a jarring, amateurish jump.
To fix this, scale the second clip up by 15 percent and shift your position slightly off-center. If your eyes were in the top-middle of the frame in clip A, move them to the top-left intersection of the rule-of-thirds grid in clip B. The viewer's eye has to physically move across the screen to find you again. That split-second of physical eye movement resets their attention span.
5. The Action-Match Split
If you are gesturing with your hands, use that movement to hide a cut.
Start a hand gesture in clip A. Cut the video halfway through the motion. Find a point in clip B where your hand is moving in the exact same direction at the exact same speed, and splice them together. The continuous motion tricks the brain into ignoring the background changing.

6. The Push-In Emphasis
Most creators use a static punch-in (scaling from 100% to 120% instantly). A push-in emphasis is a dynamic micro-cut that adds momentum.
Instead of a hard scale change, add a 4-frame keyframe animation right at the edit point. The video should scale from 100% to 115% aggressively fast. It gives a physical "snap" to the zoom that emphasizes the word you are saying. It feels like the camera operator physically shoved the lens closer to your face to deliver a secret.
7. The Hand-Drop Wipe
When you need to transition between entirely different locations, use your own body to create a physical wipe.
At the end of your first location, drop your hand directly over the camera lens or toss your phone face-down on a desk. The screen goes black for a few frames. Begin the next clip with your hand pulling away from the lens in the new location. Trim the clips so there are only two frames of pure black in between. It is a highly kinetic transition that takes zero editing software plugins to achieve.
Pattern Interrupts
Sometimes you need to completely break the visual rhythm to wake the viewer up. These micro-cuts introduce sudden, unexpected elements to jolt the retention graph back up.
8. The Text-Pop Block
Viewers naturally read text that appears on screen. You can use large, aggressive text elements to mask a messy cut.
Right at the moment of your edit, flash a massive, single-word caption on the screen for exactly 6 to 8 frames. Make it take up half the screen. The viewer's entire cognitive load shifts to reading that word. They completely miss the jump cut happening behind it. By the time the text disappears, you are already onto your next point in a new camera angle.
9. The Negative Space Jump
If you film in a wide shot, you have a lot of negative space around you. You can use that space to create a jarring micro-cut.
Take a single clip and duplicate it. Mask yourself out in the top layer. Cut the bottom layer, offset the timing by a few seconds, and place a completely different clip of yourself in the background negative space. For a split second, there are two of you on screen. Then cut back to a normal single shot. It is a bizarre visual glitch that forces the viewer to re-evaluate what they just saw.
10. The B-Roll Flash
B-roll is usually left on screen for a few seconds to illustrate a point. A b-roll flash uses related footage as a subliminal hit.
Drop a relevant image or video clip onto your timeline for exactly three frames right at a cut point. It acts exactly like a flashbulb going off. It is too fast for the viewer to fully process the details of the image, but long enough for them to register what it was. This works exceptionally well for comedic timing or emphasizing a dramatic point.
11. The Zoom-Out Reveal
We talked about pushing in, but zooming out is an incredible pattern interrupt.
Start a clip scaled up to 150%, cropping heavily into your face. Over the course of 10 frames, keyframe the scale quickly back down to 100%, revealing your surroundings or an object you are holding. The viewer starts with restricted visual information and suddenly receives the full context. It creates a satisfying visual resolution.
Live and Low-Fi Cuts
Highly polished edits can sometimes backfire on platforms that favor authenticity. Viewers might scroll past content that looks too much like a television commercial. It helps to understand why low-fi production outperforms your multi-million dollar studio. These cuts embrace the rough edges while maintaining high retention.
12. The Glitch Skip
Instead of trying to make a jump cut perfectly smooth, make it intentionally abrasive.
When you make a cut, delete three frames of audio and video right in the middle of a word, but keep the framing identical. It creates a literal skip in the video, like a scratched CD. It sounds terrible on paper, but in practice, it adds a raw, fast-paced chaotic energy to the video. It signals to the viewer that you are talking fast and cutting the fluff.
13. The Mic-Tap Cut
If you use a visible lavalier mic or a podcast microphone, you can use the physical object as an editing tool.
End a clip by physically tapping or grabbing the microphone. The audio peaks heavily. Start the next clip with your hand pulling away from the mic. Edit the two clips together right at the peak audio spike. The loud, tactile sound of the mic tap masks the edit. It feels less like an edited video and more like a live broadcast moment.
14. The Mid-Sentence Frame Swap
This is a favorite technique of vloggers. Cut to a completely different camera angle right in the middle of a continuous sentence, without stopping your speech.
The audio remains perfectly smooth and continuous, but the visual changes entirely halfway through the thought. You might start a sentence looking into your phone on the street, and finish the exact same sentence sitting at your desk. The contrast between the seamless audio and the harsh visual jump keeps the viewer locked in.
Measuring Success and Retention
Applying these cuts is only half the process. You have to track whether they are actually moving the needle on your completion rates. A video that looks highly kinetic to you might feel exhausting to a viewer if overused.
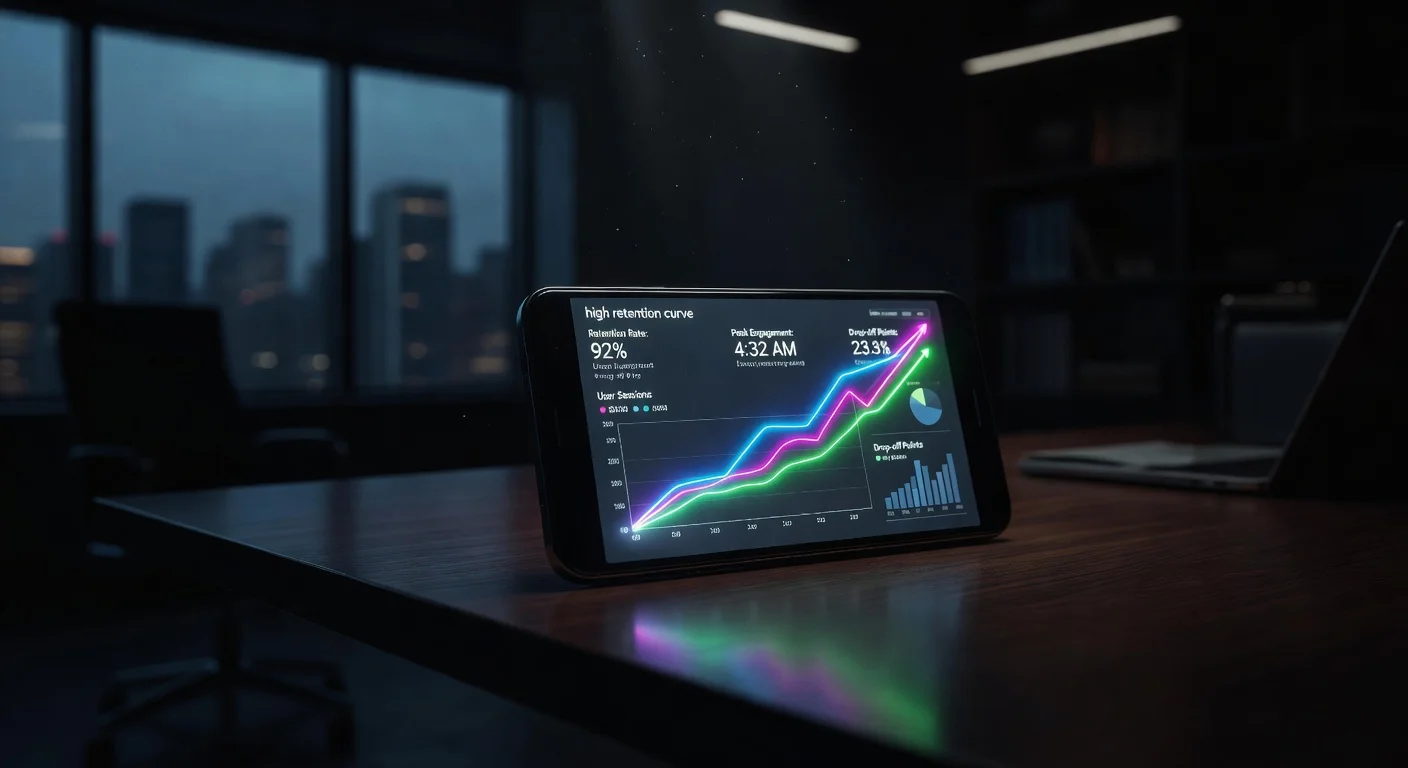
Your primary metric is the retention curve provided by the platform analytics. Look for the flat lines. A perfectly flat line means nobody is swiping away. When you see steep drop-offs, check the video at that exact timestamp. Usually, you left a breath in, or you stayed on a static shot for longer than four seconds.
If you are testing new editing styles and want to monitor the immediate impact on a recently posted video, you can use the TikTok Live Video Views Counter Tool. Paste the video link to watch the view velocity and engagement metrics accumulate in real time. If the views flatline quickly, your editing pace might still be too slow. If you are tracking broad account growth after implementing these techniques across multiple uploads, the TikTok Follower Count Tool will give you a clear view of your overall trajectory.
Pre-Publish Micro-Cut Checklist
Before you render your final video, run through the timeline one last time checking these specific elements:
- Are all inhales removed or snipped to 1 frame?
- Does any single static shot last longer than 4 seconds?
- Are the visual cuts aligned directly with the audio waveform spikes?
- Did I employ at least one pattern interrupt in the first 10 seconds?
- Does the audio sound natural when I close my eyes and listen?
Implementing the Workflow
You don't need to use all 14 of these techniques in a single 30-second video. Doing so would likely give your viewers motion sickness. The goal is to build a toolkit of options you can deploy when a segment feels slow or disconnected.
Start by mastering the audio-driven cuts. The Breath-Snip and Consonant Snap alone will drastically improve the pacing of your talking-head content. Once your audio feels relentless but natural, layer in the spatial cuts to keep the visual field dynamic.
Editing for high retention is a mechanical process. You are managing the viewer's cognitive load frame by frame. Remove the dead air, control where their eyes are looking, and never give them a quiet moment to remember they can swipe away.

Written by
Olivia Miller
Four years managing TikTok accounts for small and mid-sized creators. Five clients past a million followers, a few past five.
More from Olivia